

Luminous Paws
Instructions
Thank you for purchasing the Luminous Paws Nightlight Kit! We're thrilled to have you join our community of woodworking enthusiasts.
Should you find yourself needing clearer hands-on guidance, we offer specialised Hobbyist' Woodworking Journey carpentry courses tailored specifically to this lamp. Do check it out if you are interested and happy crafting!
Materials and Tools Required
Provided in the DIY Kit:
2 Wooden Assembly Parts
4 Wood Screws
2 Small Male Screws
2 Large Male Screws
2 Female Screws
2 Plastic Washer
2 Colours of Wood Filler
1 Bulb Wire
1 Light Bulb
1 Set of Sandpaper
Not Provided in the DIY Kit:
Router (optional, can be purchased in our Shop)
1 Wood Wax Oil
1 Pair of Gloves
1 Cloth
1 Roll of Masking Tape
1 Bottle of Wood Glue
Legends & Downloadable PDFs


Instructions
Step 1: Preparing Wooden Parts
Step 2: Sanding the Edges
Step 3: Chamfering the Edges (Optional)
Step 4: Prep for Marking Screws Positions for Dog Neck
Step 5: Inserting Neck Piece F into Jig G*
Step 6: Marking Screws Positions
Step 7: Sanding of Paws
Step 8: Assembly of Luminous Paws Nightlight Parts
Step 9: Polishing the Wood
Step 10: Finishing Touches
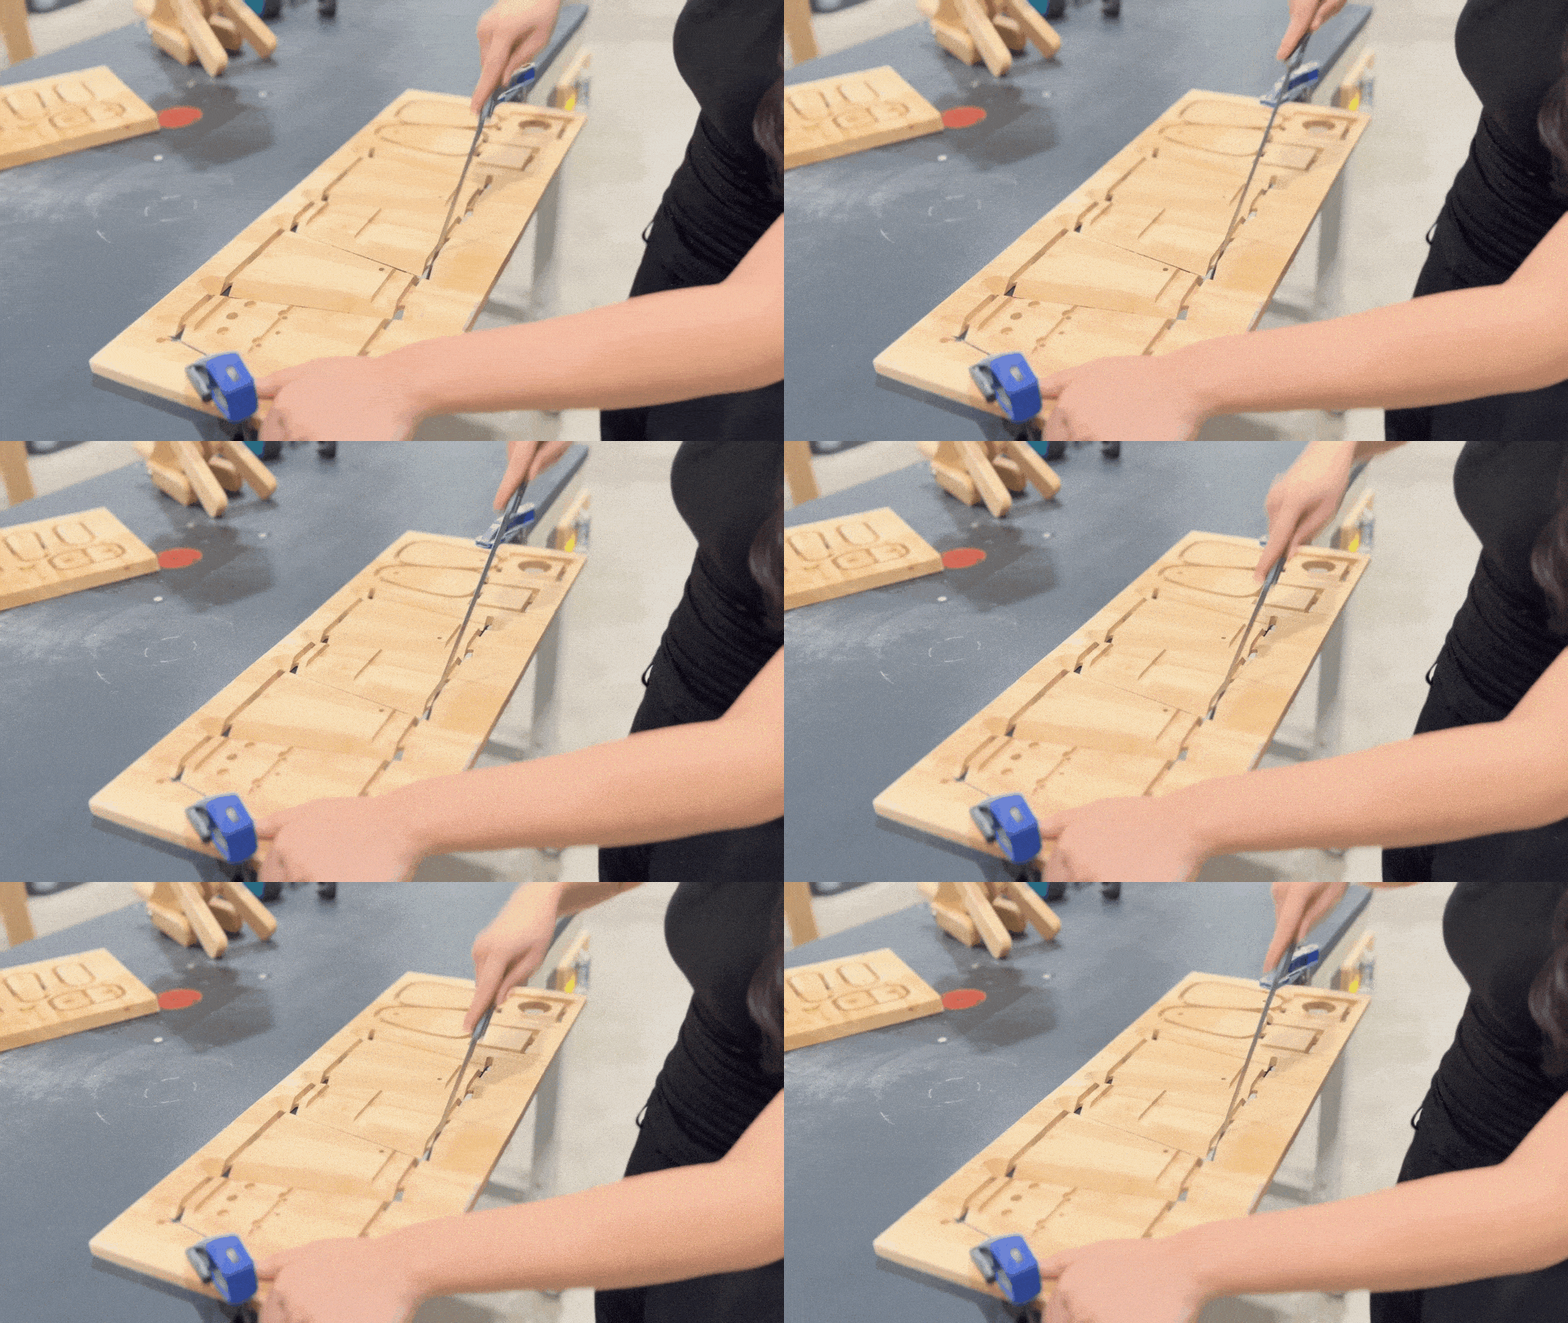
Use the provided hand saw to cut away the 'bridges' linking the needed wooden parts to the excess wood. Using a router (purchasable in our Shop) at this step is optional, but it can make the process easier and more precise. Do NOT cut out the indentation jig (G* in the assembly instructions PDF).
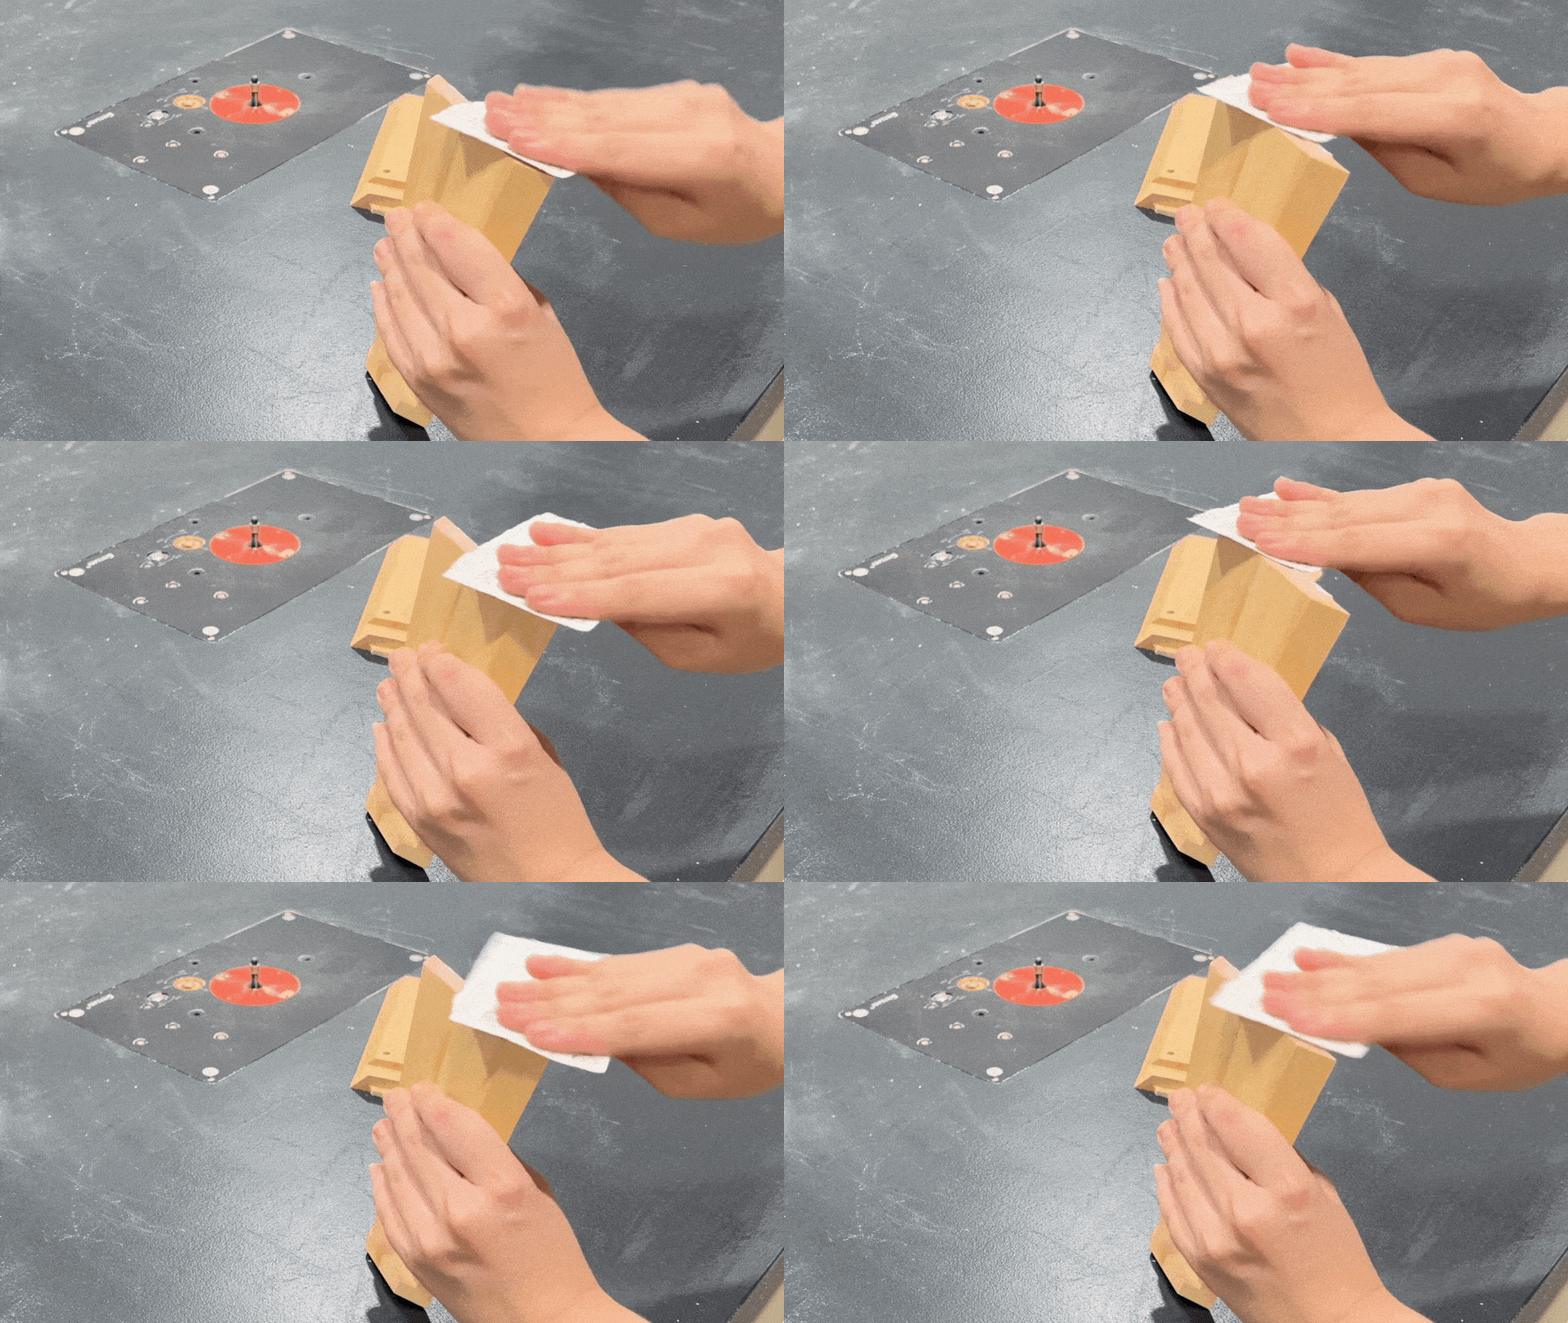
Once the pieces are cut, use sandpaper to smooth any rough edges. This ensures that the pieces fit together seamlessly. Pay special attention to corners and edges, as these areas can often be sharper or more uneven.
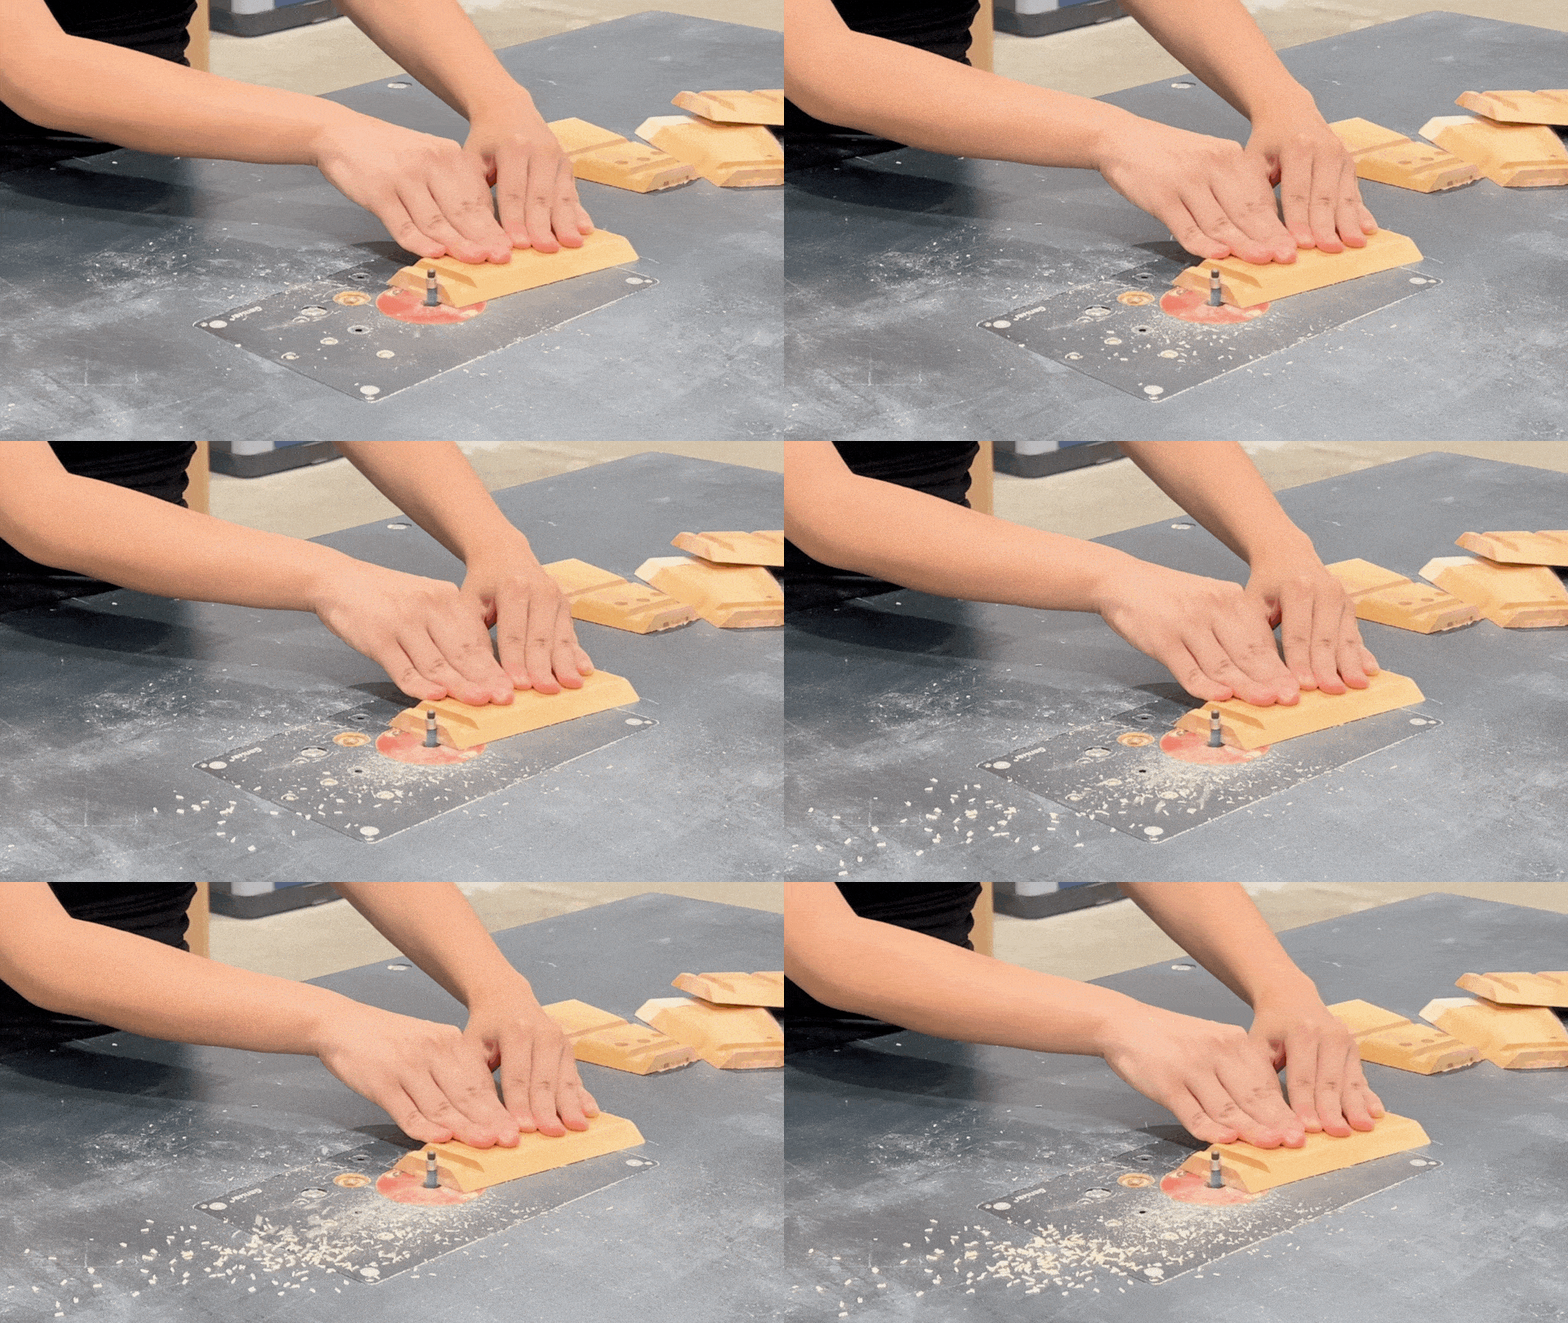
If you have access to a router (can be purchased in our Shop), chamfering the edges can add a professional touch to your dog lamp. This technique involves creating a beveled edge, which not only looks stylish but also makes the lamp safer to handle.
Locate piece F (Upper Neck) and piece G* from your kit (highlighted below). Note that G* is not a component to be assembled but a jig.
The jig (G*) is designed to hold piece F securely in place, ensuring precise alignment. It features pre-drilled holes that are critical for marking where screws should be inserted.

Carefully insert the neck piece (H) into the designated slot on the wooden jig. The jig should have a specific cut-out that fits the shape of the neck piece perfectly to avoid any movement during the next step.
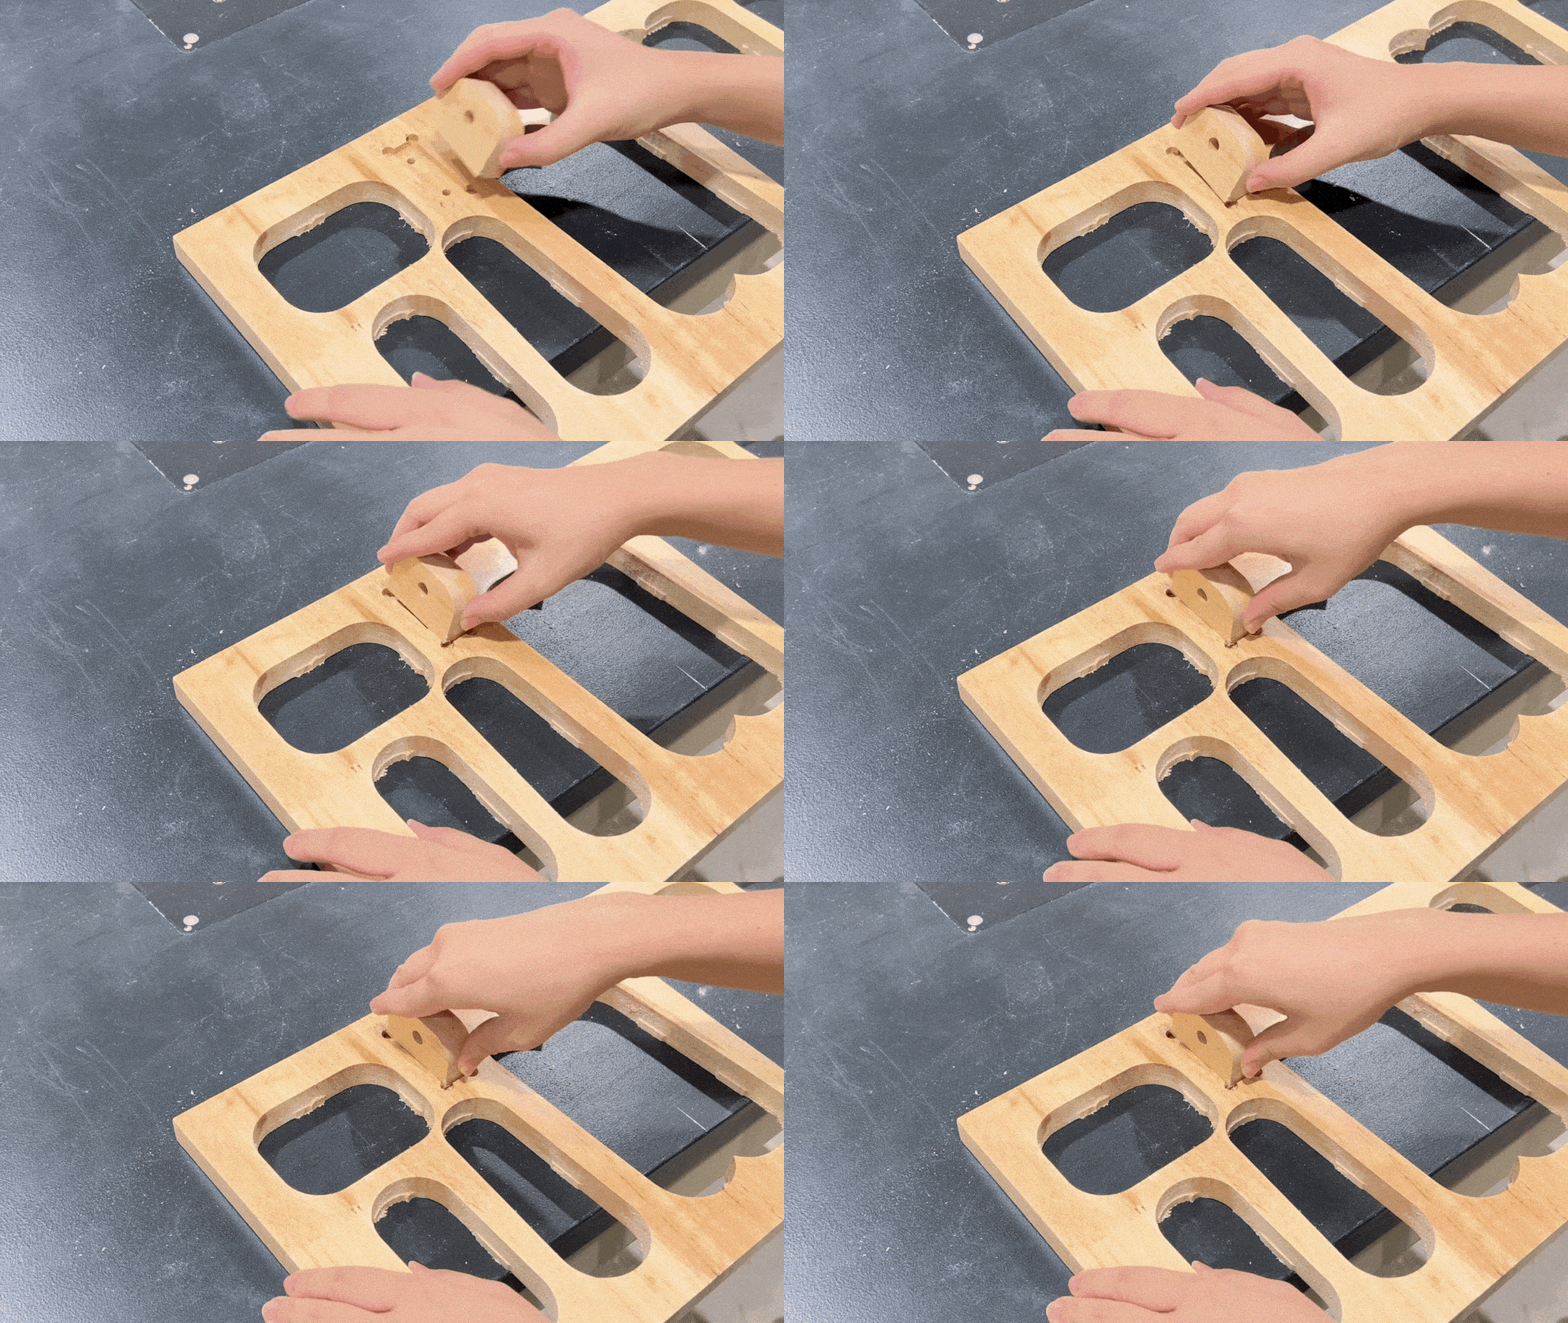
Using a pen or pencil, insert the tip through each pre-drilled hole in the jig to mark the placement of the nail screws on the neck piece. Make sure the markings are visible and accurate. This is to prepare for the Step 8, the assembly of parts.

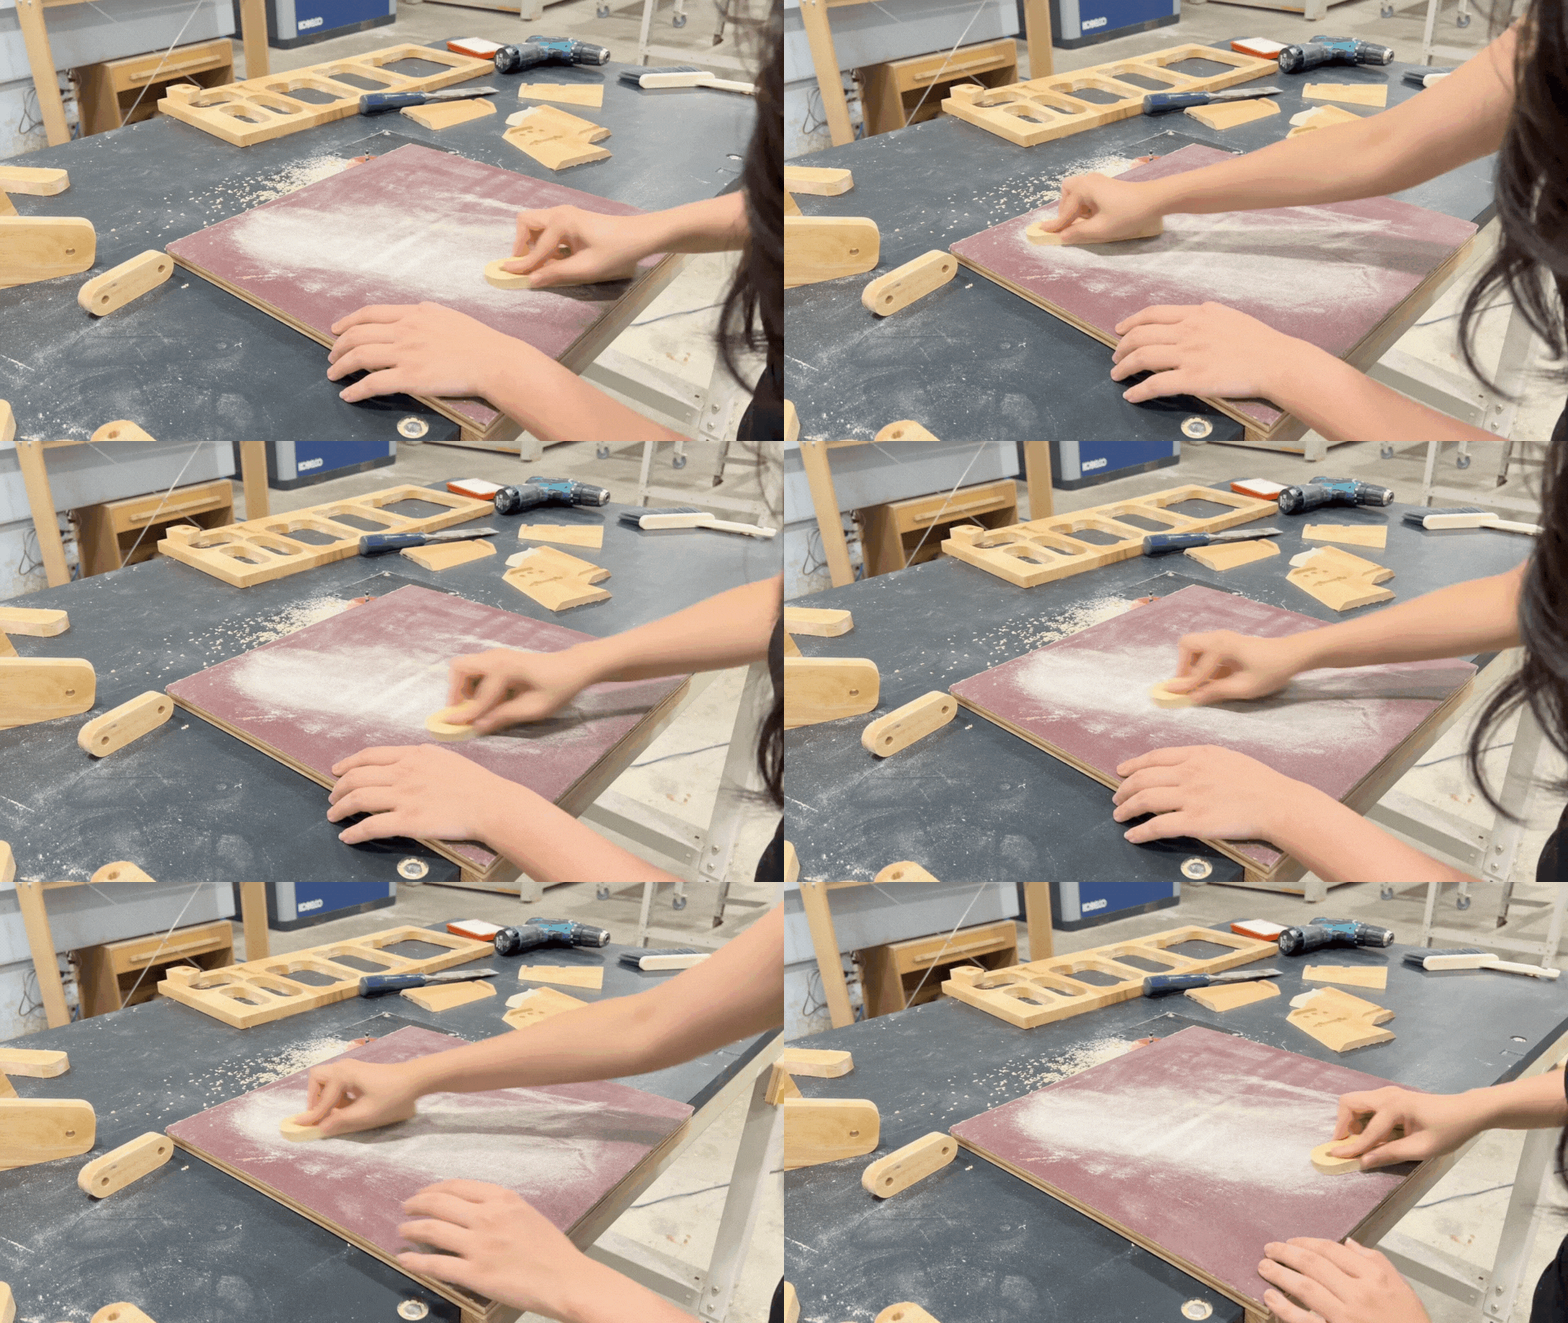
Single out pieces B1, B2, C1 and C2 highlighted in the diagram below. Using the sanding paper provided, sand down the jagged edges till smooth.
Tip: stick the sanding paper down onto a flat surface for an easier sanding experience!

Follow the provided downloadable PDF instruction sheets to assemble your Luminous Paws Nightlight.


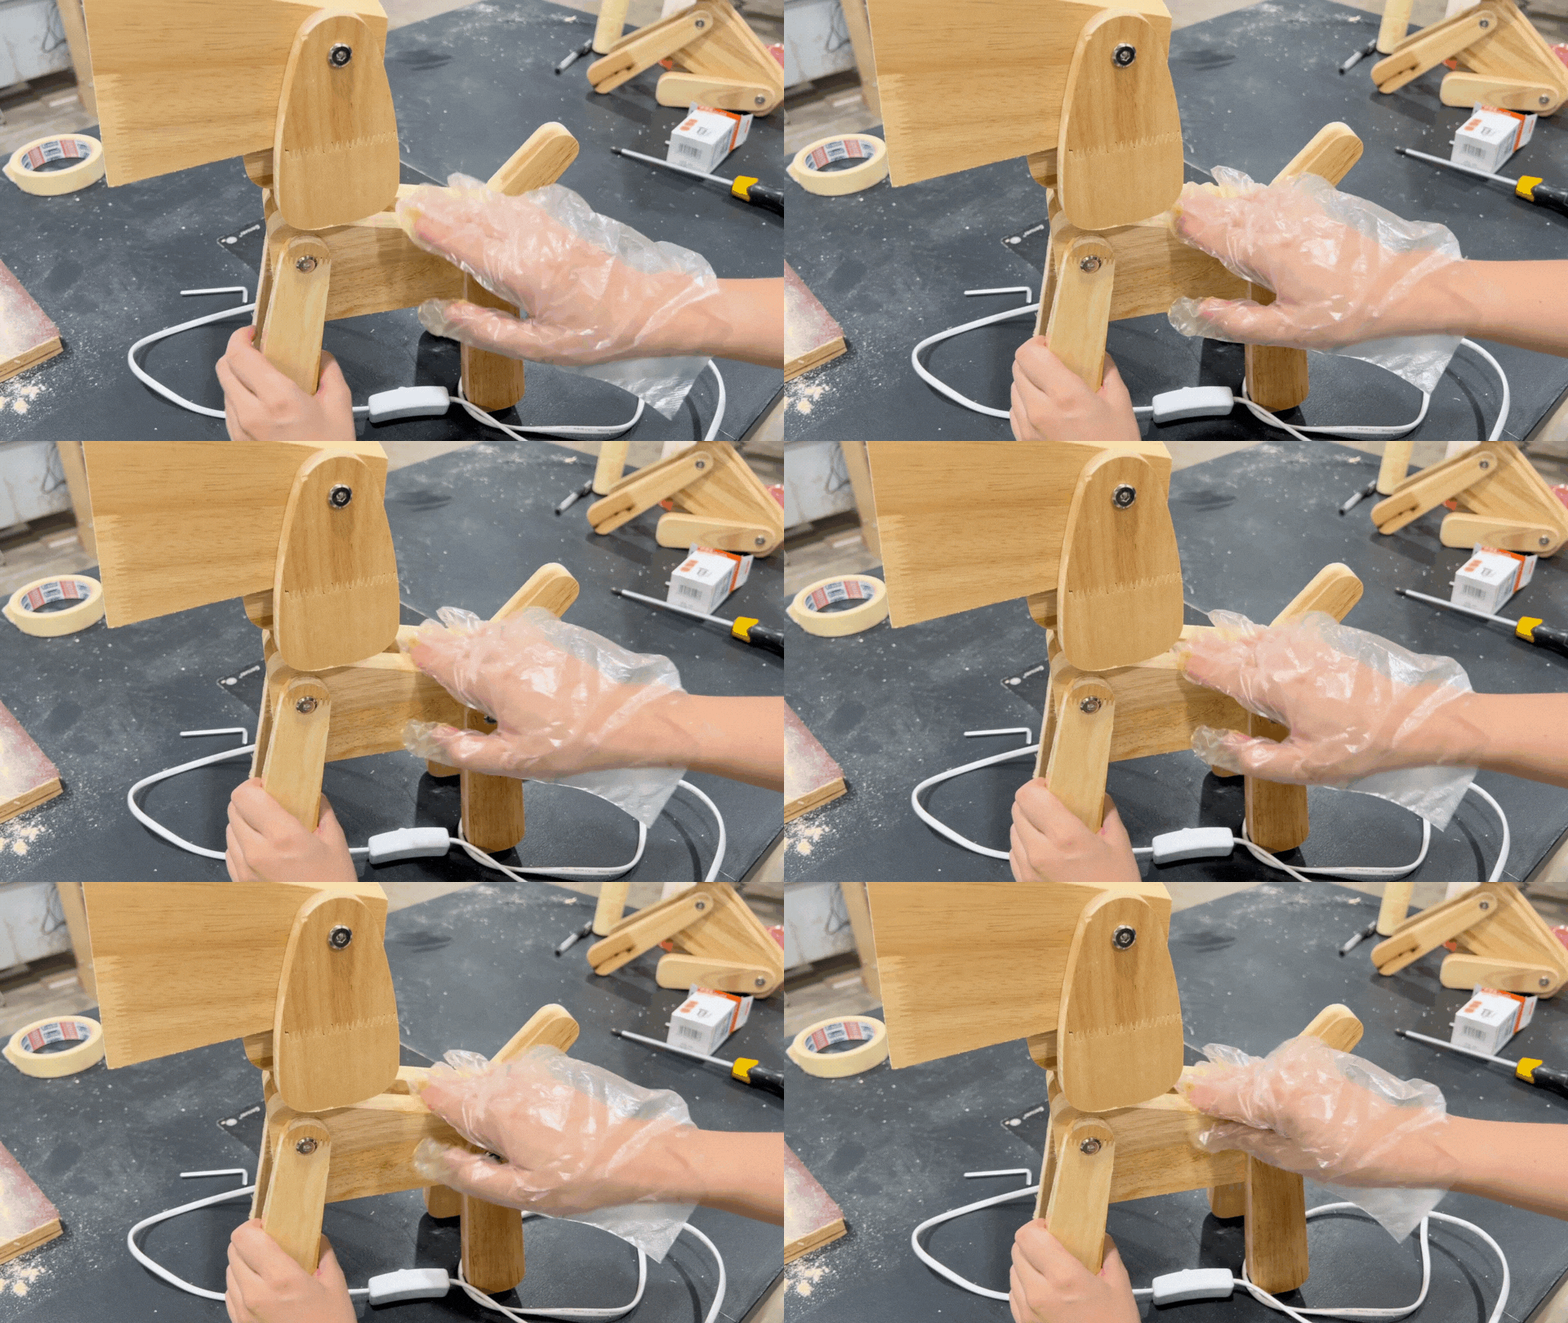
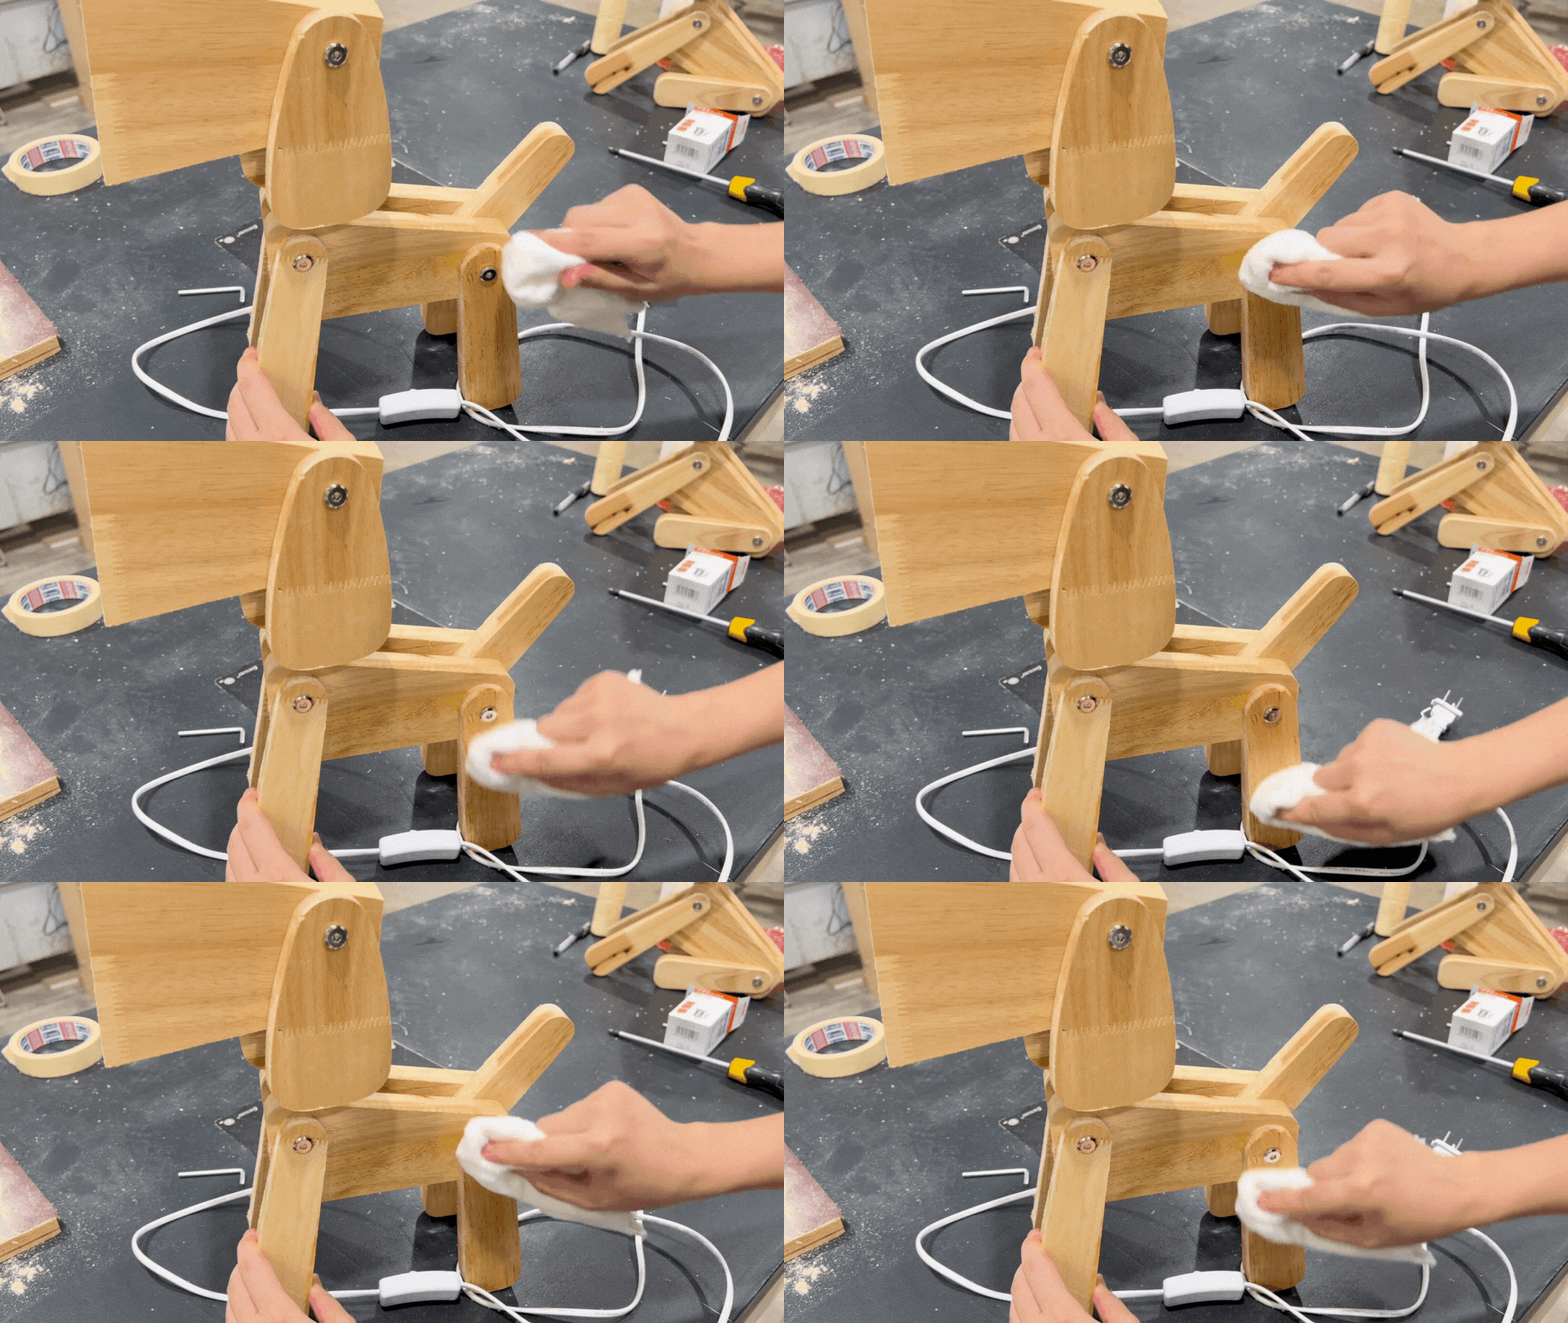
Put on your gloves to protect your hands during this step. Using your finger, apply a small amount of wood wax oil in a circular motion across all wooden surfaces. Allow the wax to sit for 30 minutes, then use a clean cloth to wipe away any excess.
Double-check all connections and adjustments to ensure your lamp is stable and properly assembled. Plug in your lamp and enjoy the warm, inviting glow of your very own Luminous Paws Nightlight!


Need Further Crafting Assistance?
Info
Address
9 Jurong Town Hall Road, #03-01 Trade Association Hub,
Singapore 609431
We offer expert-led workshops to guide you through every step of creating your custom lamp under our Hobbyist' Woodworking Journey Course. Learn, craft, and illuminate your space with us.


